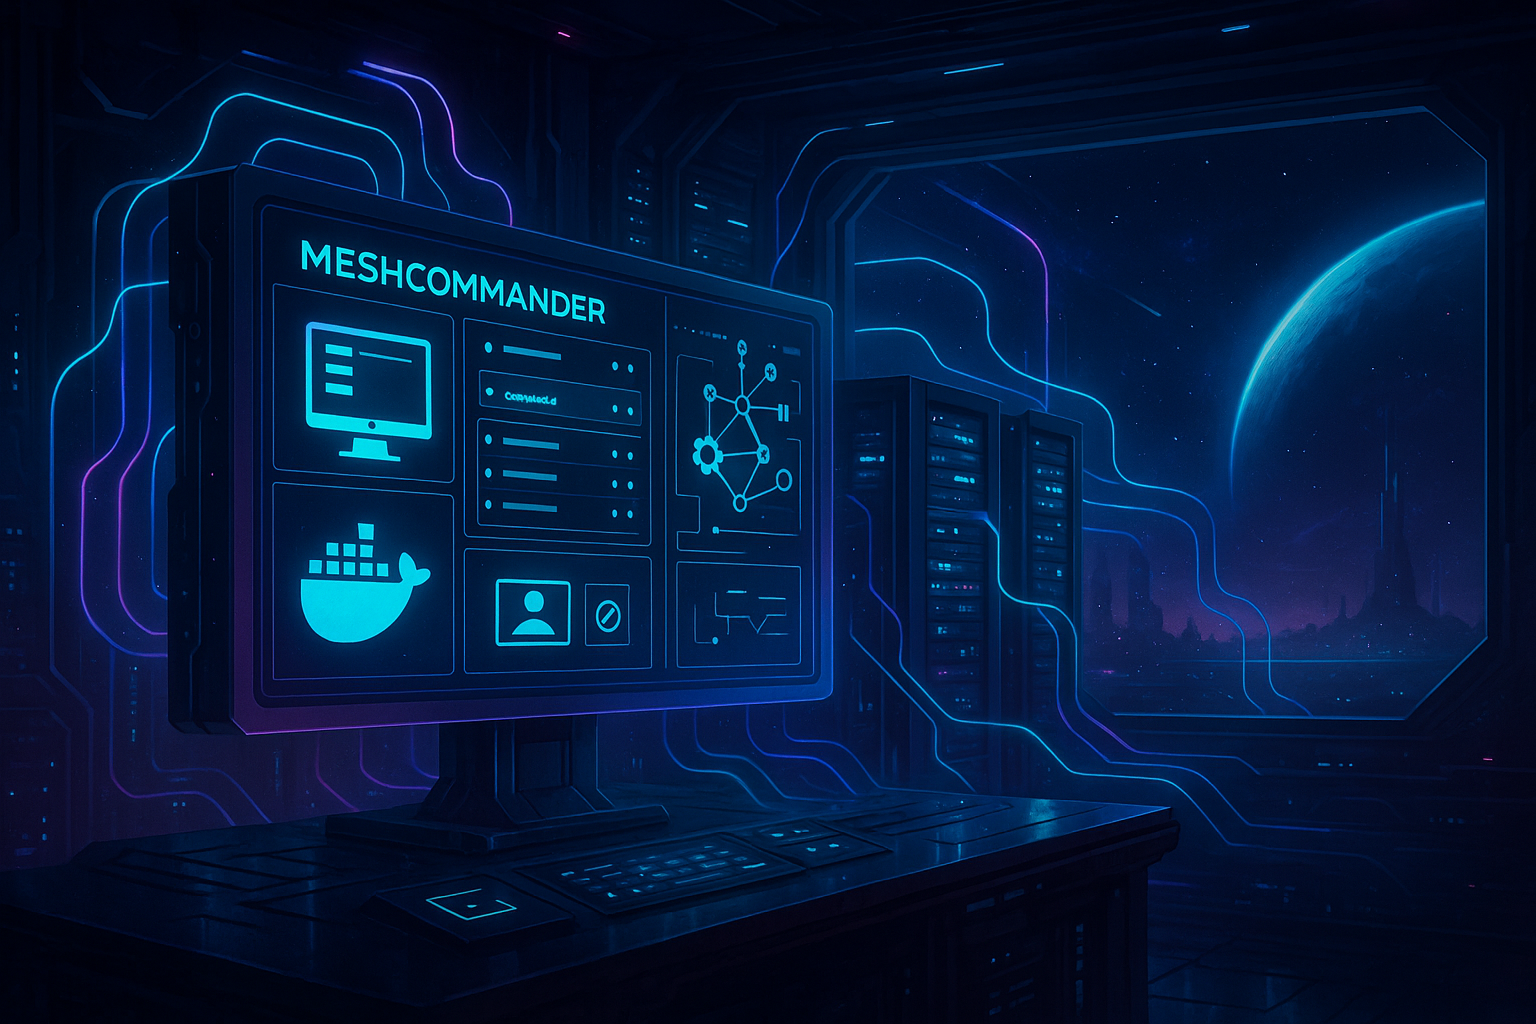
A Better Way to Run MeshCommander in Your Homelab (Intel vPro + Docker)
Run MeshCommander in Docker with a persistent server-side computer list that survives browser cache clears, for reliable Intel AMT management.
If you’ve been following along, you know I’ve been running Intel vPro/AMT on my Minisforum MS-01 devices. In a previous post, I covered enabling Intel vPro on the MS-01 and mentioned using MeshCommander via Docker to connect.
Well, I ran into an annoyance that finally pushed me to do something about it.
The Problem
Every time I needed to connect to one of my vPro-enabled machines, I’d fire up MeshCommander and have to re-add all my servers. Browser cache cleared? Gone. Different browser? Start over. Different machine entirely? You get the idea.
I got tired of re-entering the same server entries over and over. It’s one of those small annoyances that just builds up until you finally decide to fix it. I mean, why else would I have this blog or spend so much time automating/scripting everything, lol!
My Solution
I built a Docker container based on MeshCommander and modified it to save the computer list server-side. Now I can deploy it to a small, always-running Docker host (in my case, one of my homelab nodes) and access my MS-01 devices from anywhere—with my computer list already there waiting for me.
Attribution
This project is based on the following upstream work:
MeshCommander by Ylian Saint-Hilaire
https://github.com/Ylianst/MeshCommandermeshcmd Docker image by brytonsalisbury
https://hub.docker.com/r/brytonsalisbury/meshcmd
The modifications I made add server-side persistence for the computer list, allowing it to survive browser cache clears and work across devices.
What This Gives You
- Persistent computer list – Survives browser cache clears, works across devices and browsers
- Docker-based – Deploy once, access from anywhere on your network
- Traefik-ready – Built-in labels for reverse proxy with SSL
- Node.js 16 – Downgraded to overcome issue with newer versions Node.js
How It Works
The container modifies MeshCommander to:
- Save your computer list to a file on the server (not just browser localStorage)
- Load that list automatically when you open the page
- Keep everything in sync between the browser and server
The flow looks like this:
1
2
Browser → Add Computer → Saves to localStorage + Server File
Browser → Page Load   → Loads from Server File → Falls back to localStorage
Setting Up the Environment
Directory Structure
First, create the directory structure on your Docker host:
1
mkdir -p meshcommander/{build,data}
docker-compose.yml
Create your docker-compose.yml in the meshcommander directory:
1
2
3
4
5
6
7
8
9
10
11
12
13
14
15
16
17
18
19
20
21
22
23
24
services:
  meshcommander:
    build:
      context: ./build
      dockerfile: Dockerfile
    container_name: meshcommander
    restart: unless-stopped
    networks:
      - your-network  # Update this to match your Traefik network
    volumes:
      - ./data:/app/data
    labels:
      - "traefik.enable=true"
      - "traefik.http.routers.meshcommander.entrypoints=websecure"
      - "traefik.http.routers.meshcommander.rule=Host(`mesh.yourdomain.com`)"  # Update this
      - "traefik.http.routers.meshcommander.tls=true"
      - "traefik.http.routers.meshcommander.tls.certresolver=production"
      - "traefik.http.services.meshcommander.loadbalancer.server.port=3000"
    security_opt:
      - no-new-privileges:true

networks:
  your-network:
    external: true
Update
your-networkto match your Traefik network andmesh.yourdomain.comto your desired hostname.
Dockerfile
Now create the Dockerfile in the meshcommander/build directory. This is where the magic happens—the Dockerfile installs MeshCommander and applies all the modifications at build time:
1
2
3
4
5
6
7
8
9
10
11
12
13
14
15
16
17
18
19
20
21
22
23
24
25
26
27
28
29
30
31
32
33
34
35
36
37
38
39
40
41
42
43
44
45
46
47
48
49
50
51
52
53
54
55
56
57
58
59
60
61
62
63
64
65
66
67
FROM node:16-alpine

WORKDIR /app

# Install MeshCommander
RUN npm install meshcommander

# Change computer list path to persistent volume
RUN sed -i "s|readFile('computerlist.config'|readFile('/app/data/computerlist.config'|g" \
    /app/node_modules/meshcommander/webserver.js

# Keep passwords in response (original strips them)
RUN node -e "const fs=require('fs'); \
    let c=fs.readFileSync('/app/node_modules/meshcommander/webserver.js','utf8'); \
    c=c.replace(/for \\(var i in list\\) \\{ delete list\\[i\\]\\.pass; \\} \\/\\/ Remove all passwords\\./g, \
    '// Passwords kept in response'); \
    fs.writeFileSync('/app/node_modules/meshcommander/webserver.js',c);"

# Add POST endpoint to save computer list
RUN node -e "const fs=require('fs'); \
    let c=fs.readFileSync('/app/node_modules/meshcommander/webserver.js','utf8'); \
    if(c.indexOf('action == \"savecomputerlist\"')===-1){ \
        const p=c.indexOf('    return obj;'); \
        if(p!==-1){ \
            const n='    obj.app.post(\"/webrelay.ashx\", function (req, res) {\n\
        if (req.query.action == \"savecomputerlist\") {\n\
            var body = \"\";\n\
            req.on(\"data\", function (chunk) { body += chunk.toString(); });\n\
            req.on(\"end\", function () {\n\
                try {\n\
                    obj.fs.writeFile(\"/app/data/computerlist.config\", body, \"utf8\", function (err) {\n\
                        if (err) { res.status(500).send(\"Error: \" + err.message); }\n\
                        else { res.set({ \"Content-Type\": \"application/json\" }); res.send(JSON.stringify({ success: true })); }\n\
                    });\n\
                } catch (e) { res.status(500).send(\"Error: \" + e.message); }\n\
            });\n\
        } else { res.status(404).send(\"Not found\"); }\n\
    });\n'; \
            c=c.slice(0,p)+n+c.slice(p); \
            fs.writeFileSync('/app/node_modules/meshcommander/webserver.js',c); \
        } \
    }"

# Auto-save to server when computers are saved
RUN sed -i "s|localStorage.setItem('computers', JSON.stringify(computerlist));|\
localStorage.setItem('computers', JSON.stringify(computerlist)); \
try { var xhr = new XMLHttpRequest(); \
xhr.open('POST', '/webrelay.ashx?action=savecomputerlist', true); \
xhr.setRequestHeader('Content-Type', 'application/json'); \
var data = JSON.stringify({ 'webappversion':typeof version != 'undefined' ? version : '0.9.5', 'computers':computerlist }); \
xhr.send(data); } catch (ex) {}|" /app/node_modules/meshcommander/public/default.htm

# Auto-load from server on startup (ensures computers have proper identification)
RUN sed -i "/var ctext = null;/a\
            try { var xhr = new XMLHttpRequest(); xhr.open('GET', '/webrelay.ashx?action=getcomputerlist', false); xhr.send(); \
            if (xhr.status == 200 && xhr.responseText) { try { var serverData = JSON.parse(xhr.responseText); \
            if (serverData && serverData.computers) { computerlist = serverData.computers; \
            for (var i = 0; i < computerlist.length; i++) { if (!computerlist[i]['h']) computerlist[i]['h'] = Math.random(); \
            if (!computerlist[i]['tls']) computerlist[i]['tls'] = 0; } ctext = JSON.stringify(computerlist); } } catch (e) {} } } catch (ex) {}" \
    /app/node_modules/meshcommander/public/default.htm

# Create data directory
RUN mkdir -p /app/data

EXPOSE 3000

CMD ["node", "/app/node_modules/meshcommander/meshcommander.js", "--any"]
Deploying
Once you have both files in place, deploy with:
1
2
cd meshcommander
docker compose up -d
Check the logs to confirm it started correctly:
1
docker logs meshcommander
You should see something like:
1
MeshCommander running on http://*:3000.
Now open a web browser and navigate to your configured URL (e.g., https://mesh.yourdomain.com). You should see the MeshCommander interface ready to go.
Without Traefik
If you’re not using Traefik and just want to expose the port directly, here’s a simpler compose file:
1
2
3
4
5
6
7
8
9
10
11
12
13
services:
  meshcommander:
    build:
      context: ./build
      dockerfile: Dockerfile
    container_name: meshcommander
    restart: unless-stopped
    ports:
      - "3000:3000"
    volumes:
      - ./data:/app/data
    security_opt:
      - no-new-privileges:true
Then access it at http://your-server-ip:3000.
Why Node.js 16?
When I first built this container, I tried using Node.js 18+ and ran into connection errors like:
ERR_SSL_UNSAFE_LEGACY_RENEGOTIATION_DISABLEDERR_SSL_TLSV1_ALERT_PROTOCOL_VERSION
Switching to Node.js 16 resolved these issues for me. I’m always open to feedback if you’ve found a way to get Node.js 18+ working—feel free to share in the comments!
Security: Passwords Are NOT Encrypted
This is important, so I want to be very clear about it.
The computer list file stores passwords in plain text. The file at
./data/computerlist.configcontains your AMT credentials unencrypted. When I implemented server-side storage, I didn’t spend time adding encryption—the passwords are stored as-is.
Recommendations
- Don’t save passwords if you’re uncomfortable with this. You’ll just enter them each time you connect. The hostnames and usernames will still persist—just not the passwords.
- Restrict file permissions on the data directory
- Run this on a trusted network only
MeshCommander will prompt you for the password each time if you choose not to save it. The convenience of persistent storage comes with this trade-off—just be aware of it before you deploy.
Verifying Persistence
Want to make sure everything is working? Here’s how to test:
- Add a computer in MeshCommander
- Check that the file was created on the server:
1
cat ./data/computerlist.config - Clear your browser cache completely
- Refresh the page—the computer should still be there
If the computer persists after clearing your browser cache, you’re all set!
Closing
Now when I need to manage one of my MS-01 vPro-enabled machines, I just open the URL, my computers are already listed, and I click connect. No more re-entering the same information every time I clear my browser cache or switch devices.
The full project is available on my GitHub: MeshCommander Docker
Let me know if this helped you or if you have a different approach to managing your MS-01 devices. I’m always happy to hear your thoughts in the comments section below! 🚀