TrueNAS SCALE: Traefik - Working SSL Certificates - Applications - Support
Connect TrueNAS SCALE GUI applications to your existing Traefik instance by adding Docker networks and Traefik labels for SSL certificates.

TrueNAS SCALE (Electric Eel) +
This post is a continuation inspired by questions I’ve received about using Traefik on TrueNAS SCALE, which is still not directly supported in TrueNAS “Applications”. However, numerous other applications are now available, and I wanted to start using them because of their ease of use. Although running manual Docker Compose files isn’t particularly difficult, the TrueNAS GUI “Applications” site significantly streamlines the process. Don’t you agree? Make sure to check out my previous post to catch up on where I’ll be continuing from: Hands-On with TrueNAS SCALE 24.10 Electric Eel: Configure Docker Compose and Traefik - Working SSL Certificates
Summary of the Changes
- Locate the Docker network name
- Updated the Docker Compose file to include additional Docker networks.
- Added the correct labels when creating the application.
- Bonus: Updated the permissions if you are opting for non-default iXsystems configuration files.
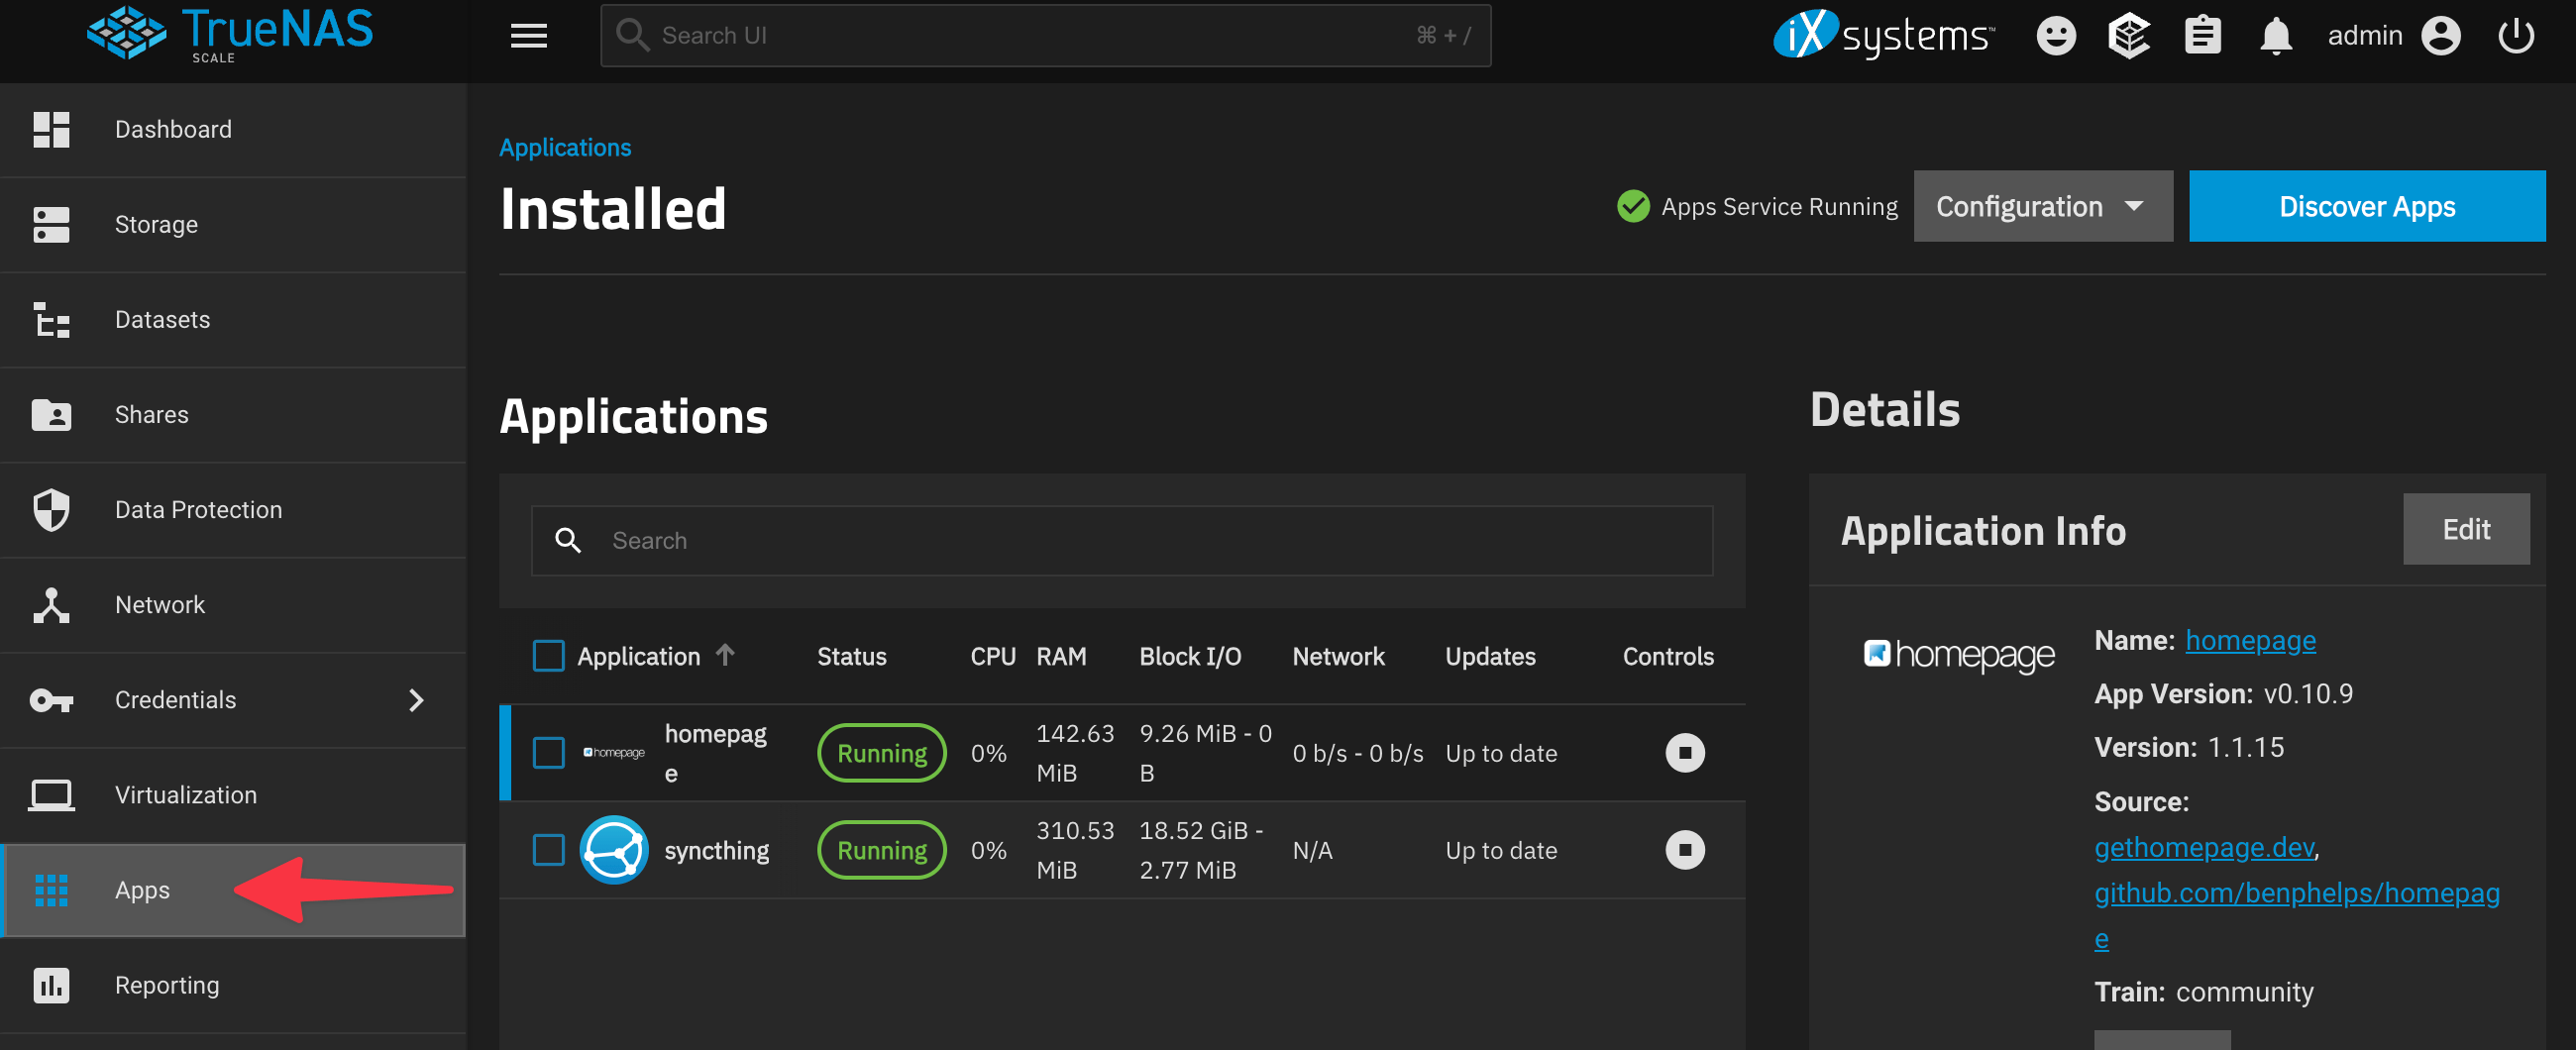
Since we already have a functioning Traefik configuration, we only need to update the Docker Compose file to add additional networks. Currently, it seems that a separate network is created for each new Docker application that is spun up. In this demonstration, I will be referring to Homepage. While there were a few hurdles I had to overcome as part of this setup, I won’t go into the detailed setup of this Docker application. If you need guidance, I recommend checking out Techno Tim’s blog post or his YouTube video.
Perhaps in a future release of TrueNAS, once iXsystems allows for network selection, these steps won’t be necessary.
Finding the Docker Network Name
How does one figure out what network was created for a new Docker application? There are two ways to do this.
Option 1
Log in to the TrueNAS GUI and navigate to System then Shell. Run the following command:
1
sudo docker network list
The output will look similar to this; of course, yours will look different depending on your installed applications, etc.
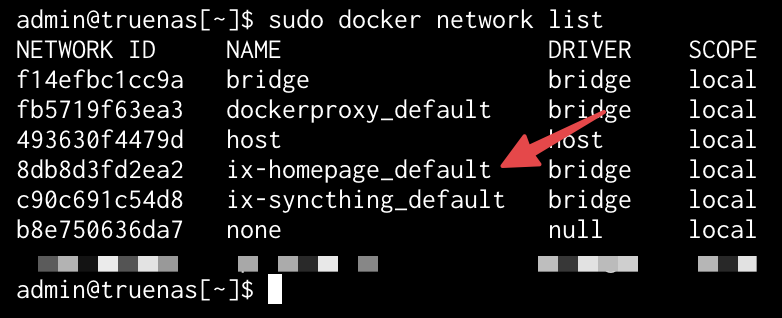
Now you can generally guess which network was created based on the name. As mentioned, I’m deploying the Homepage application, so in the list, I can clearly see the Docker network named ix-homepage_default.
I suspect much of the naming conventions will be the same for now. However, this will most likely change in a future release of TrueNAS.
Option 2
This option is slightly more complex and requires a couple of commands, but it’s precise and can be used if you’re having trouble figuring out which Docker network was created. We’ll begin with a TrueNAS Shell. Log in to the TrueNAS GUI and navigate to System then Shell. Run the following commands:
1
2
3
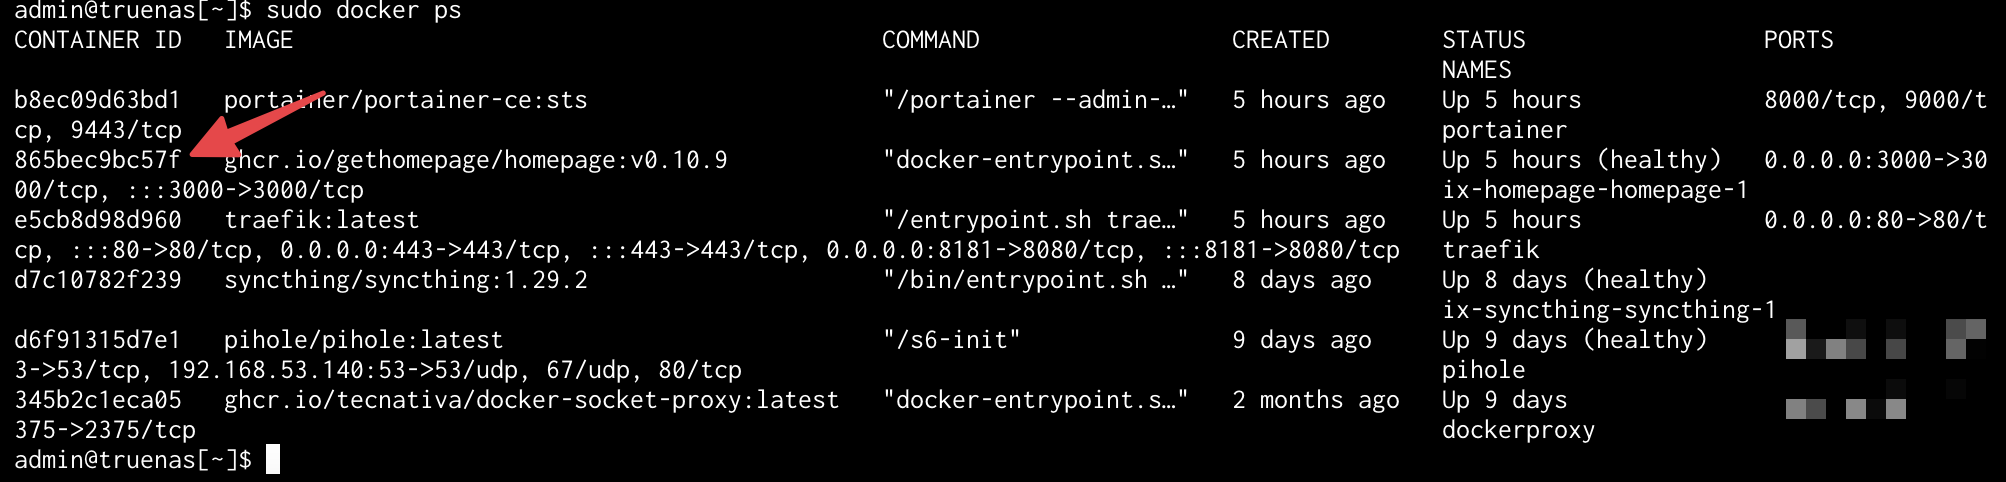
sudo docker ps
# Locate the container name or Docker ID. In my example below, I used the ID.
sudo docker inspect <container_name_or_id> --format='{{json .NetworkSettings.Networks}}'
Here are the screenshots from running these commands on my system. Notice that the network name matches the list of networks used in the first command.

Now that we have the network name, let’s move on to the next step.
Traefik Docker Compose Updates
As mentioned, we need to add more networks to our Docker Compose file. I’ve removed all the code comments from the Traefik Docker Compose file that were in my previous blog post, so please refer to that if you have any questions. For ease of use, I’ve noted where changes were made.
Note: You must add another network for each application that Traefik is going to serve with an SSL certificate. This can be a bit of a hassle if you have many containers, but hopefully, this will be a short-term workaround.
1
2
3
4
5
6
7
8
9
10
11
12
13
14
15
16
17
18
19
20
21
22
23
24
25
26
27
28
29
30
31
32
33
34
35
services:
  traefik:
    image: traefik:latest
    container_name: traefik
    security_opt:
      - no-new-privileges:true
    ports:
      - "80:80"
      - "443:443"
      - "8181:8080"
    networks: # <---- UPDATES GOING IN THIS SECTION
      - proxy_network
      - ix-homepage_default # <--- UPDATE MADE FOR HOMEPAGE
    volumes:
      - type: bind
        source: /mnt/.ix-apps/docker/MyApps/traefik/config
        target: /etc/traefik
      - type: bind
        source: /mnt/.ix-apps/docker/MyApps/traefik/sslcerts
        target: /etc/traefik/sslcerts
      - type: bind
        source: /mnt/.ix-apps/docker/MyApps/traefik/logs
        target: /var/log/traefik/
      - /var/run/docker.sock:/var/run/docker.sock:ro
    environment:
      - CLOUDFLARE_API_KEY=Your_Key_Here
      - CLOUDFLARE_EMAIL=Your_Email_Here
      - CLOUDFLARE_PROPAGATION_TIMEOUT=90
    restart: unless-stopped

networks: # <---- UPDATES GOING IN THIS SECTION
  proxy_network:
    external: true
  ix-homepage_default: # <--- UPDATE MADE FOR HOMEPAGE
    external: true # <--- UPDATE MADE FOR HOMEPAGE
Okay, we’re almost there. Now we need to add the relevant labels. If you are following my walkthrough, your labels should match mine, but please pay close attention to the following:
traefik.docker.network: This is the name of the network found in the previous steps.traefik.http.services.homepage.loadbalancer.server.port: Note that I changed the default port on my Homepage instance from the one that came with TrueNAS.traefik.http.routers.homepage.tls.certresolver: Mine is set to production, but yours may be something else.traefik.http.routers.homepage.rule: This is your DNS name, which should match your domain name, not mine.
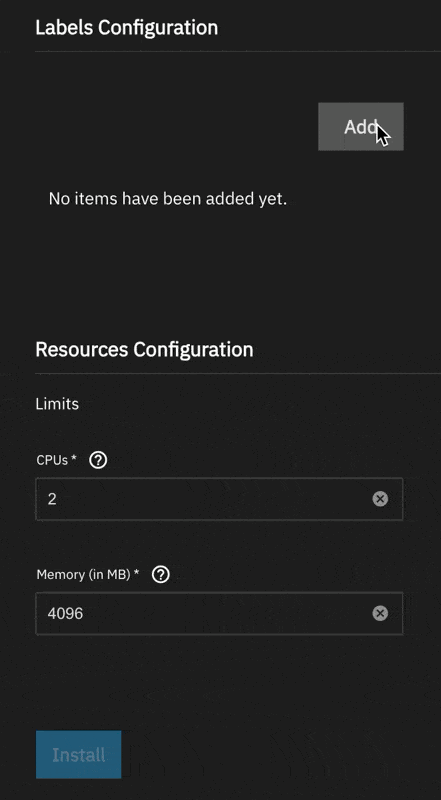
Let’s create a label. Here is a short video showing what the GUI will look like. I will not have a screenshot of each one, but I will list the keys and values for each.
Key/Values
1
2
3
4
5
6
7
8
9
10
11
12
13
14
15
16
17
18
19
20
21
22
23
Key: traefik.enable
Value: true

Key: traefik.http.routers.homepage.entrypoints
Value: websecure

Key: traefik.http.routers.homepage.rule
Value: Host(`home.your_domain_name.com`)

Key: traefik.http.routers.homepage.tls
Value: true

Key: traefik.http.routers.homepage.tls.certresolver
Value: production

Key: traefik.http.services.homepage.loadbalancer.server.port
Value: 3000

Key: traefik.http.routers.homepage.middlewares
Value: default-headers@file

Key: traefik.docker.network
Value: ix-homepage_default
Bonus Round!
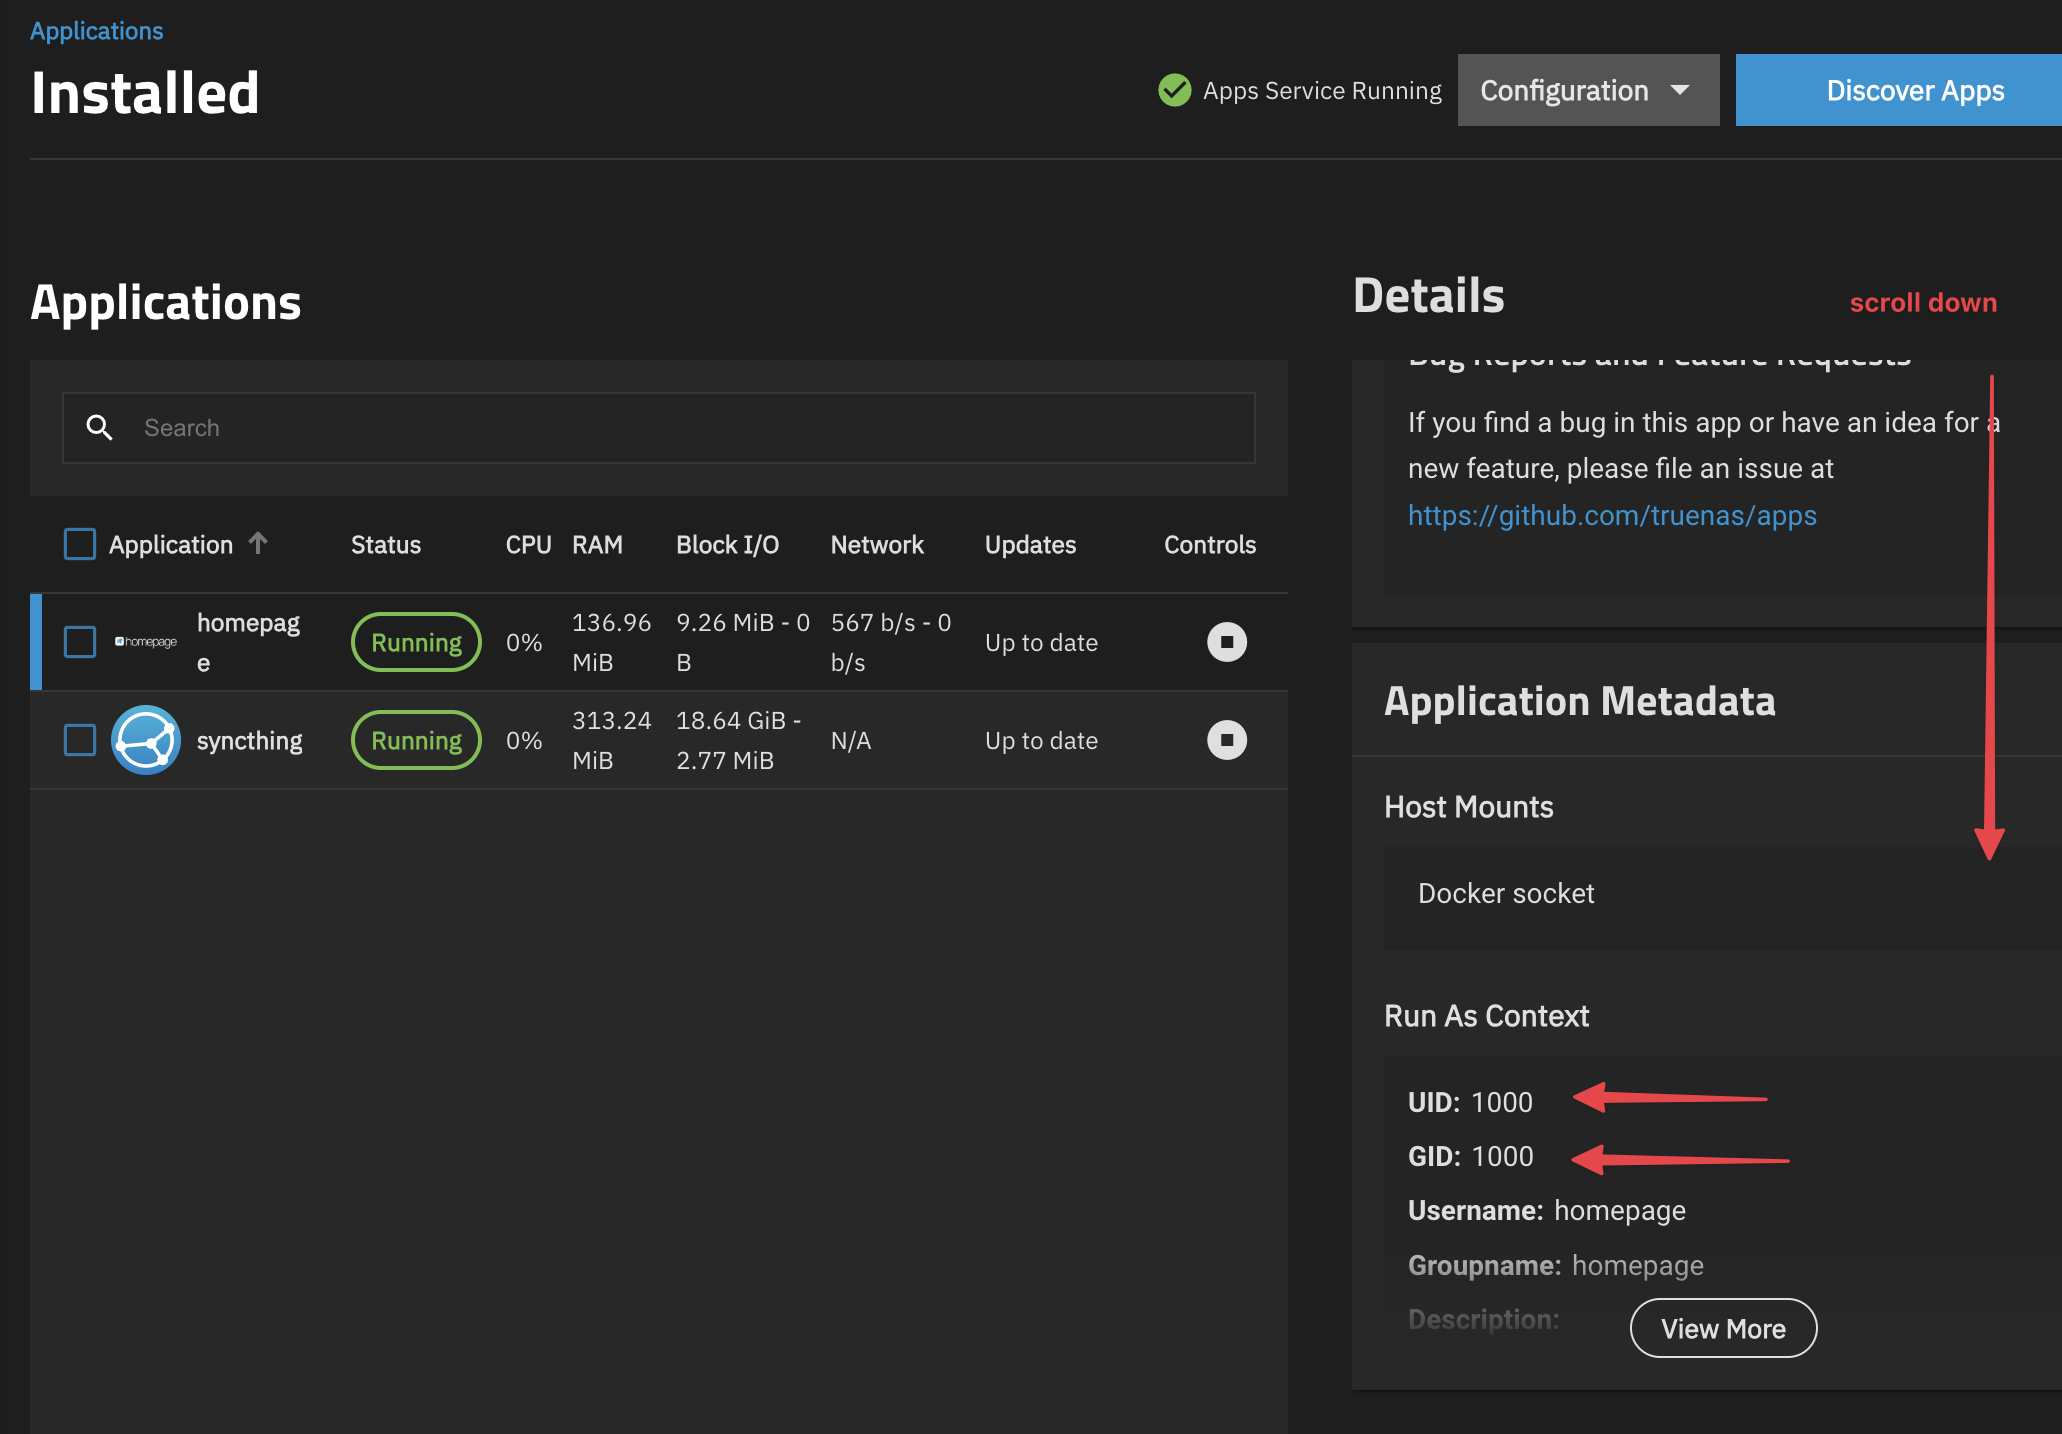
I encountered a small issue because I changed the default configuration for storage. I’m using my own dataset created on the TrueNAS host. When I set it up, it was configured with root permissions. So even though I had all my configuration files for Homepage, I ran into an error when trying to load the container. Your experience may vary here, as there are many different UID/GID’s for various Docker containers. If you’ve done something similar to me, you’ll need to change the file permissions of the folder to 1000:1000, according to the default settings of the container.
Here’s the command I ran. Update your path and adjust the UID/GID based on what the GUI defaults to or what you have changed it to, then stop and start the container. This worked well for me.
Scroll down to the section that looks similar for Homepage; again, your Docker container experience may vary and may need to be checked when editing or creating the container for the first time.
1
sudo chown -R 1000:1000 /mnt/dataset01/local-docker/homepage
Closing
Thanks for stopping by! Let me know if this helped you in the comments below. If you enjoyed this guide, why not pass it along? See you in the comments! 🚀💬